Auto-mode on modern smartphones is incredible for quick snapshots, but it fundamentally lacks artistic intent. When capturing nature, you want full control over how light, motion, and color are recorded. This is why mastering the best camera settings for landscape photography is essential.
This guide will teach you how to leverage Manual Mode on your device to capture breathtaking outdoor scenes.
The Holy Trinity: ISO, Shutter Speed, and Exposure
1. ISO: Keep it Low
In landscape photography, detail is everything. High ISO introduces digital noise that destroys the fine details of leaves, grass, and rocks. Your primary rule should be to keep your ISO at its base value (usually ISO 50 or 100). Only raise it if you are shooting handheld in very low light and your shutter speed becomes too slow, causing motion blur.
2. Shutter Speed for Motion
Shutter speed controls motion. For sweeping, still landscapes (like a calm lake reflecting a mountain), a fast shutter speed (1/500s) freezes any minor wind movement in the trees. However, if you are photographing waterfalls or rivers, you might want a slow shutter speed (like 1 or 2 seconds) to create that silky, ethereal water effect. (Note: on a smartphone, you will likely need an app with a built-in long exposure simulation, or an ND filter over your lens to do this during the day).
3. Exposure Compensation
Landscape photographers often "expose for the highlights." This means you lower your exposure (-0.5 to -1.5 EV) to ensure the sky doesn't blow out into pure white. It's much easier to recover dark shadows in post-processing than it is to recover a sky that has turned entirely white.
Mastering Focus
Soft, blurry landscapes ruin great compositions. Relying on autofocus can be dangerous if the camera focuses on a nearby branch instead of the distant mountain.
Always use Manual Focus. Set your focus point precisely where you want maximum sharpness. Many pro apps, like LeafyCam, feature Focus Peaking, which outlines the in-focus areas of your image in bright green or red, ensuring you never miss focus again.
When to use HDR (High Dynamic Range)
HDR is vital in landscape photography. A scene with a bright sky and dark foreground (like a sunset over a canyon) exceeds the dynamic range of a single camera sensor. A good camera app will seamlessly blend multiple exposures together to retain detail in both the brightest and darkest areas.
Settings for Specific Environments
Waterfalls and Rivers
- ISO: 50
- Shutter Speed: 1/2s to 4s (Requires a tripod and LeafyCam's long exposure mode)
- Focus: Manual, locked on a stationary rock near the water.
Mountains and Vistas
- ISO: 100
- Exposure: -0.5 EV (to protect the bright sky and clouds)
- Focus: Manual, set to infinity.
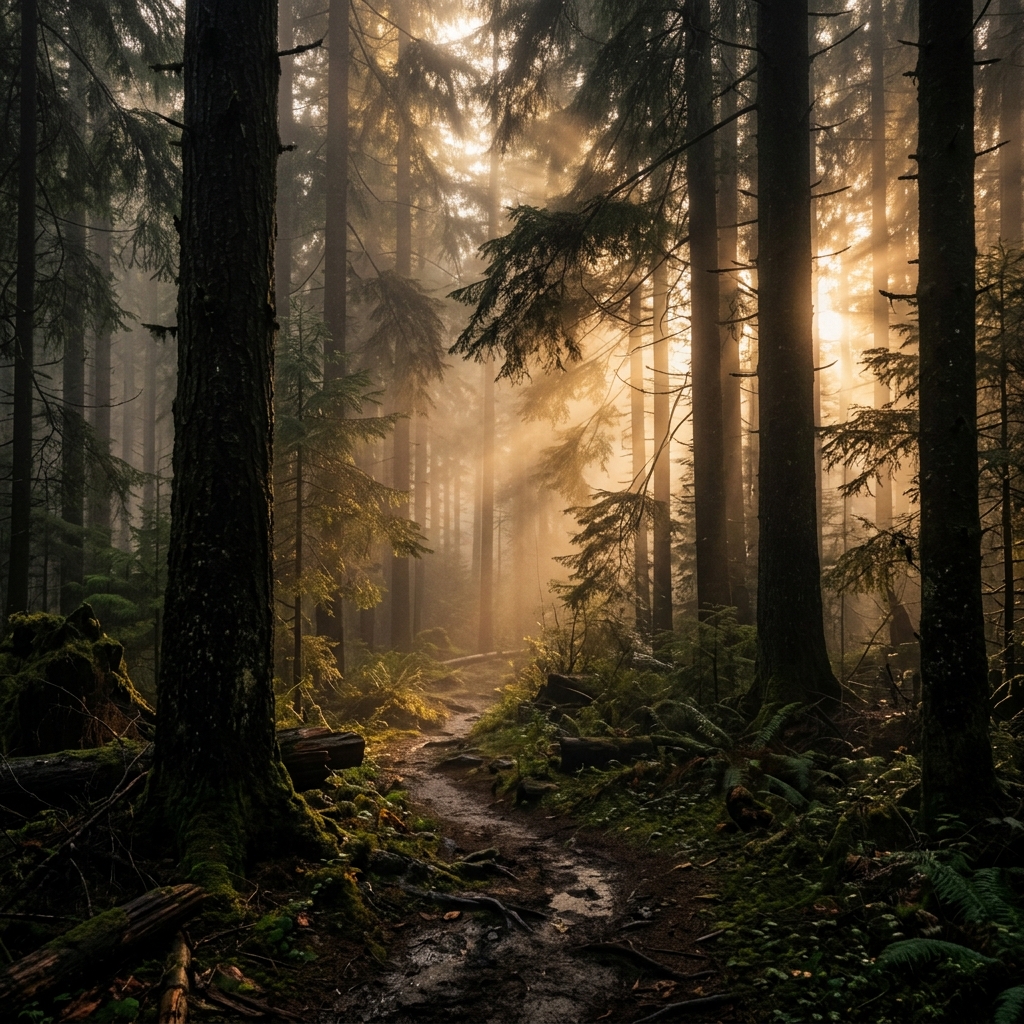
Dense Forests
- White Balance: 5000K-5500K (to preserve the moody greens and browns)
- Exposure: -1.0 EV (forests look best when they are slightly dark and mysterious)
- HDR: On (to balance bright light piercing through the canopy)
Sunrise and Sunset (Golden Hour)
- White Balance: 6500K+ (to artificially enhance the warm oranges and reds)
- ISO: 100
- Focus: Manual on your primary foreground subject.
Try these settings on Android
Ready to put these settings to the test? Download LeafyCam to unlock full manual controls, RAW capture, and cinematic LUTs on your phone.